ATXTurf’s August “Back to School” Batting Cage Maintenance Checklist
Published August 1, 2024
“An ounce of prevention is worth a pound of cure.” – Benjamin Franklin
Since 2009, the ATXTurf team has cultivated a community of parents, players, coaches, and facility owners whose daily lives drastically change in the month of August. For most, August marks the end of summer and beginning of the school year. Parents scramble for back to school supplies and resume carpooling duties. Coaches welcome new players (and budgets!)and facility owners prepare for indoor, fall ball practices.
It’s also an ideal time for coaches and facility owners to perform service maintenance on your batting cages and facilities. Patch those holes and glue down those tripping hazards now before they get bigger and more expensive to fix. As Benjamin Franklin said ““An ounce of prevention is worth a pound of cure.”
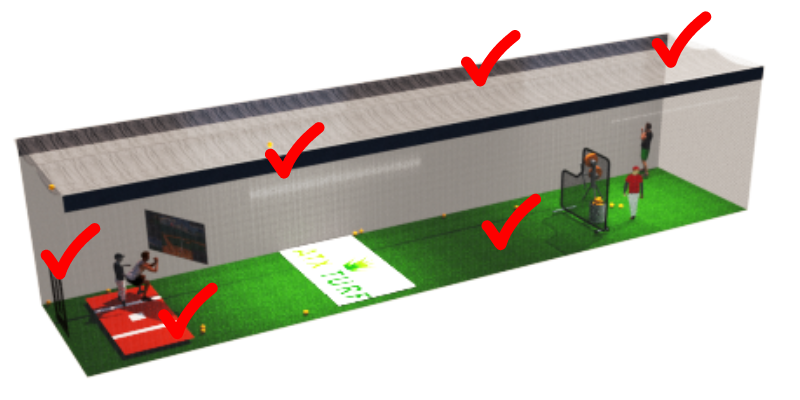
To help bring some order to this otherwise, hectic time of year, we’ve provided a checklist for coaches and facility owners to get your space SAFE and looking sharp.
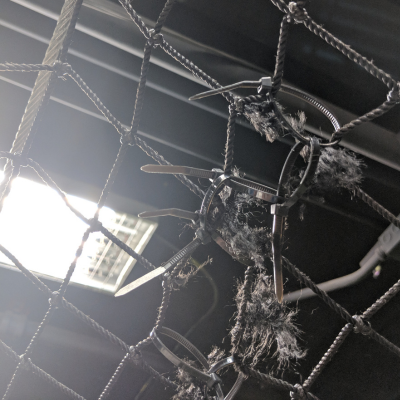
1. Inspect Your Nets – This is a good time of year to “check your nets.” Undoubtedly, over time kids hang on the nets or high impact areas begin to wear and tear. Maybe this year’s record breaking heat finally got to that 10 year old protective net. If buying a new net is not in the budget, a bag of zip ties can get the job done temporarily. You just don’t want a ball sneaking through and pegging someone in the head.
Did you know you can buy replacement nets for L Screens and Field Screens?
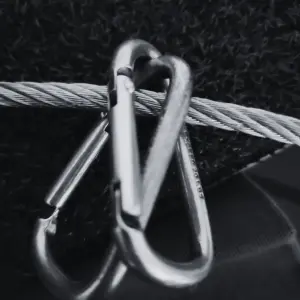
2. Cables & Hardware – Remember when you bought turnbuckles as part of the hardware in your cage facility? There was a reason. You can get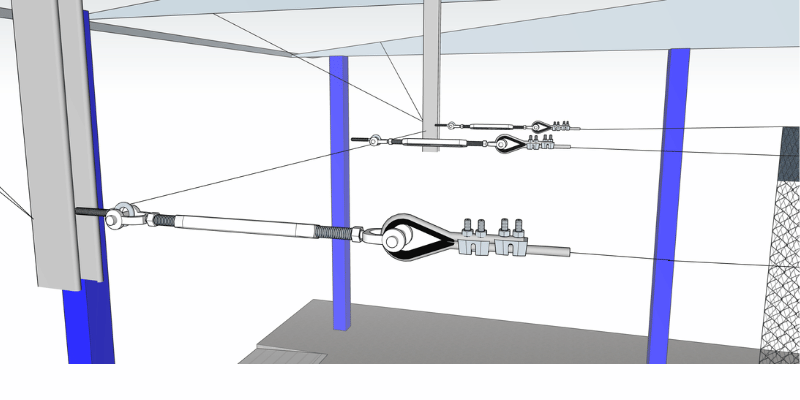 on a ladder and tighten them if your cables and nets have begun to sag over time. Also, give your anchor points a good once-over. Make sure nothing is coming loose.
 4. Retractable Divider Nets – Have your divider nets become more difficult to retract over time? Spring clips often get crossed-over each other and rub in the underside, making them difficult to slide on the cable. While you are up on the ladder, consider untangling the clips, or replacing them. Consider using split bracket pulleys if you are a facility that retracts the nets daily.
“Pull” Don’t “Drag” Your Divider Nets
Its also a good time to remind your coaches to “pull” the dividers back in a swimming motion, as opposed to walking the net down to the other end, which drags and “pulls down” on the cable.
4. Walk Your Seams– Walk the turf seams from one end to another. If you see seams coming apart or bare spots in really old turf, don’t worry, they can be repaired with a tube of turf glue and some instruction. Note: If you have a rubber infill system, use a leaf blower to blow the rubber completely out of the area, then glue, then brush infill back in.
5. Batting Mats – Older batting mats begin to wear and fade. Especially on the right side. Customers are often surprised how a new clay batting mat can increase the aesthetics of a batting cage or home plate area.
6. Portable Pitching Mounds – Some older mounds made from styrofoam have tendency to chip on the edges and corners. Or the landing area dents. Once it begins, it gets worse and your constantly picking up white styrofoam crumbs off the turf. There’s no good fix for this. Consider replacing the mounds with a warranty of 10 years or more.
If you need to replace or stock up on any items for your facility this fall, don’t hesitate to reach out to ATXTurf. 866-428-2809. You are welcome to join our community!
0 Comments