How to Install Turf in an Indoor Sports Facility Using Turf Tape
Published January 18, 2023
How Much Tape do You Need for Your Area? Our Turf Calculator will calculate the amount of seam tape you would need for your area.
Installing Turf Indoors is much easier than installing turf outdoors. Most of the time, indoor turf is installed on a concrete floor which is generally flat. Most indoor sports facilities are in converted warehouses while most residential indoor turf areas are either basements or garages on a concrete slab.
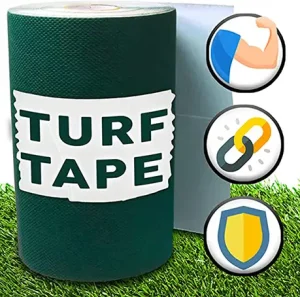
Artificial Turf Glue Vs Turf Tape
In outdoor, heavy use environments, such as full athletic fields, turf needs to be glued with heavy duty turf glue, or is often sewn together with rather expensive sewing devices designed to connect turf over a gravel base.

It’s also often the case in batting cages, that the nets actually hang down over the seams. Turf is typically 15’ wide and batting cages are most commonly 14’ wide and then nets hang loosely and move around at the bottom. This often happens directly over the seam, in which case there is very little wear on the seam itself.
Finally, if you ever need to replace the turf, reconfigure your facility or move out at the end of a lease, it’s MUCH easier to remove the tape and the turf is preserved. If the turf has been glued, it’s much more difficult to salvage and re-use. It’s doable, but you will have 6 inches of glue and tape stuck to both edges of the roll of turf and most likely glue stuck to your floor in spots.
Other Tips on Installing Turf Indoors
The Floor
While newer construction buildings tend to be really flat, older construction warehouses and buildings can often have uneven areas due to settling and cracks, or other obstacles

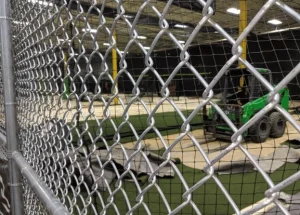
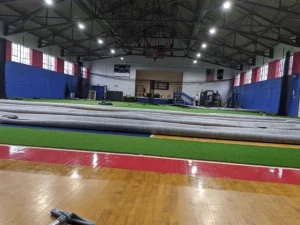
Connecticut Facility – Turf Resting Before Using Turf Tape
Let the Turf Rest
When you are planning your installation schedule, allow time for the turf to rest after it’s rolled out and before seaming it. Once you have made sure the area is actually flat, then you can roll out the turf. But before you begin to cut the edges and seam the pieces together, understand that turf comes off the manufacturing line in a very STIFF state. It goes through a heating process when the backing is applied, and as it cools, the backing becomes stiffer. Some turf manufacturers won’t even ship turf that is less than 24 hours off the coating machine, for this reason.
So after your turf has been rolled up, sat in a warehouse, and shipped, it is still in this state when you unroll on it. It’s analogous to getting your dress shirt back from the cleaners with high starch and as the day goes on, it gets looser. The same goes for new turf.
It’s ideal to let the turf rest, at least overnight, and in colder temps, even longer. It also helps to grab the end of the roll of turf and wave it to help it loosen. Taking these additional steps will help prevent wrinkling over time. Its very common to see turf installed in the winter months be perfectly flat, and then when June rolls around and it’s 100 degrees outside, the turf can loosen and even grow a few inches, creating wrinkles, often in the most inconvenient places.
You can trim the edges as needed while the turf is resting. We address that in this article on how to cut turf. Once that’s done, you are ready to attach the seams.
Feel free to reach out to a member of the ATXTurf team to discuss what turf might be best for your indoor application. 866-428-2809.

0 Comments